Interior doors often go unnoticed in a home, yet they play crucial roles: preserving warmth, reducing noise, and ensuring privacy.
Let's delve into the significance of internal doors and guide you through nine straightforward steps to swap out an old, worn door with a fresh one.
The Importance of Internal Doors
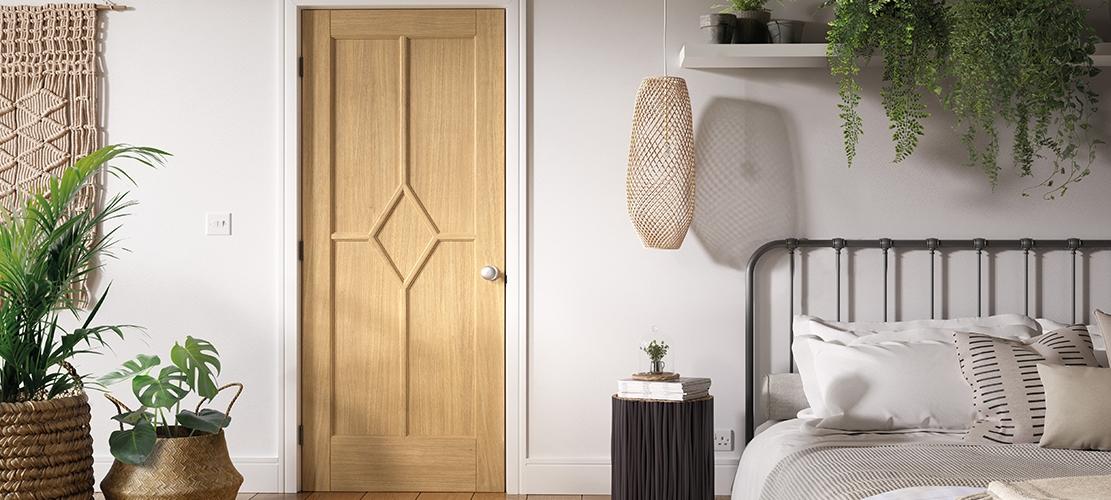
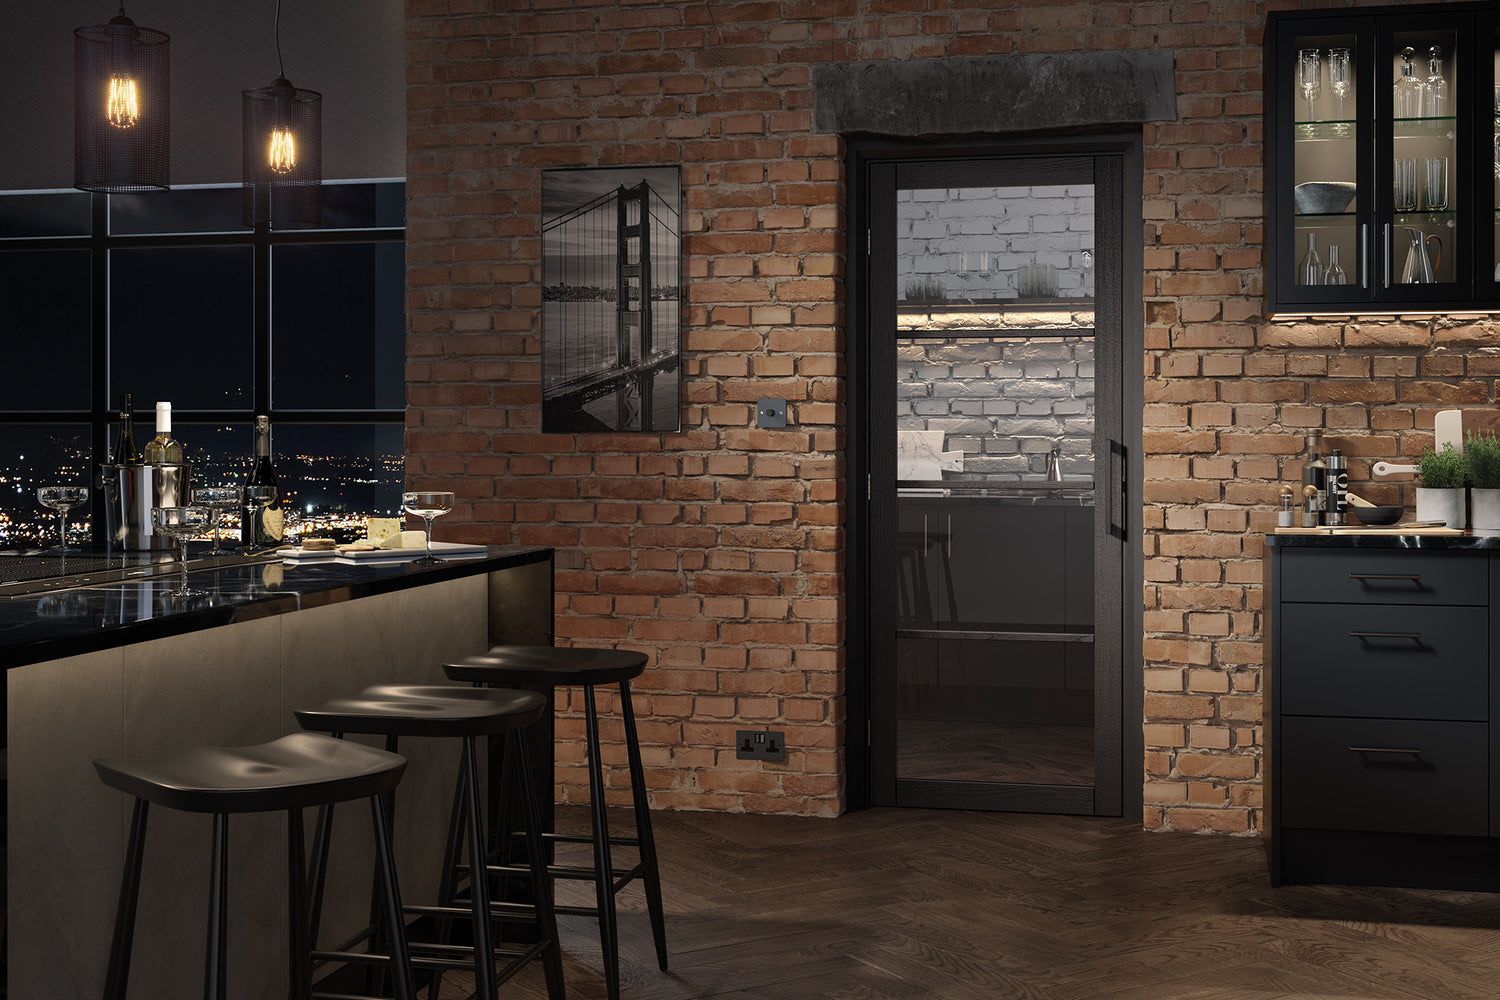
Beyond simply dividing spaces and muffling sounds, internal doors contribute to the aesthetic appeal of your interior design.
When revamping a room, replacing a door can have a surprisingly transformative effect. Opting for a pristine, white door with glazed panels can enhance natural light, while a painted door can inject character, serving as a focal point. Not to mention the myriad of exquisite door handles available to add a sophisticated finishing touch.
Once you've chosen a beautiful new interior door, ensured it's the right size, and had it delivered, it's time to replace the old one, fitting it into the existing frame.
Keep in mind that door dimensions can vary significantly depending on the age of your house. Therefore, aim to order a door that closely matches the original dimensions.
Is DIY Door Installation Feasible?
Although you can hire a handyman to handle the installation, the process is surprisingly straightforward.
Anyone can tackle the installation themselves, though we advise enlisting the assistance of a friend or family member. Managing tasks like lifting, measuring, and ensuring a proper fit alone can be challenging. An extra set of hands will greatly expedite the process and enhance safety.
- Clamps
- One Bevel-Edged Chisel
- Two Door Handles
- Dust Mask
- Gloves
- One Hammer
- Two or Three Hinges (based on door)
- One Latch
- One Pencil
- One Plane or Saw
- Safety Glasses or Goggles (per person)
- Sanding Block or Sandpaper
- One Screwdriver and Screws
- One Tape Measure
- Two Wedges
- One Workbench
- Your New Door
Step One: Acclimate Your New Door
Begin by allowing your wooden door to acclimate. Lay it flat on a level surface inside your home for approximately three days. This allows the door to adjust to the indoor environment, minimizing any potential changes in size or shape. Refer to our guide on storing new internal doors for detailed instructions.
Step Two: Remove the Existing Door
Start by uninstalling the old door. However, don't discard it just yet; it might come in handy later. If the hinges are covered in paint, use a screwdriver's edge to clear the groove, facilitating easier removal. Most hinges are secured with flathead screws, so use a flathead screwdriver to remove them. It's often easier to unscrew the hinge attached to the door first, alternating between the top and bottom screws. Having an extra pair of hands or a wedge to steady the door can be helpful. Once unscrewed, carefully remove the door from the frame and store it safely out of the way.
Step Three: Trim Your Door to Fit
Trimming your door may be necessary to achieve a snug fit. Most doors can handle some amount of trimming without compromising their integrity. Refer to our detailed guide on trimming internal doors before proceeding. Wear protective gear such as goggles, glasses, and a mask during this step. Your old door can serve as a template for the new one, ensuring accurate measurements. However, following the guide may provide more precise results. A properly fitted internal door is essential for maintaining room temperature and maximizing efficiency.
Step Four: Mark Hinge Positions
With the door fitting snugly in the frame, mark the positions for the new hinges accurately. Having someone hold the door steady while you mark the hinge outlines with a pencil is recommended.
Step Five: Cut Hinge Recesses
Secure the door to your workstation using clamps to prevent movement. Use the marked outlines as a guide to position the hinge plates on the door edge. Mark the hinge outlines and holes on the door with a pencil. Determine the thickness of the hinge to chisel out the correct depth. Wearing safety gear, use a chisel and hammer to cut around the markings on the door edge. Make small, careful cuts to avoid splitting the wood. Chisel out the recess slowly, ensuring it matches the hinge plate. Position the hinge and drill pilot holes in the door to aid installation and prevent wood splitting. Finally, screw the hinge plate into position.
Step Six: Install the Latch Plate
If a latch plate is needed:
- Measure the distance from the old latch to the floor and mark it on the new door still on the hinges.
- Take a diagonal measurement of the latch to determine the drill bit size.
- With wedges under the door for stability, drill a hole in the marked location.
- Insert the latch to check its fit and mark the outline with a pencil.
- Carefully chisel inside the markings, making space for the latch.
- Check the fit periodically to avoid over-chiselling.
Step Seven: Drill a Hole for the Door Handle
-
Position the latch flush on the door's outside and mark the drill hole for the handle.
-
Drill the hole according to the handle's specifications, ensuring it protrudes from the other side as a guide for drilling from the opposite side.
Step Eight: Assembly
-
Slot the latch into position and secure it with screws, using a drill if needed.
-
Install the handle on both sides of the door, securing with screws. Having someone hold it in place can be helpful.
-
If replacing the old door latch, mark where the new one should be installed, then position and outline it against the markings on the door frame.
-
Chisel around the markings and remove the middle section.
-
Regularly check the fit of the latch until it is flush with the frame.
-
Attach the new plate using a drill and screws.
Step Nine: Complete Door Installation
-
Ensure the door fits correctly by checking its alignment.
-
Once satisfied, secure screws into the remaining pilot holes in the door hinges.
-
Double-check that the door swings smoothly and closes properly.
-
With all screws securely in place, your project is complete!
Congratulations on successfully installing your new interior door!